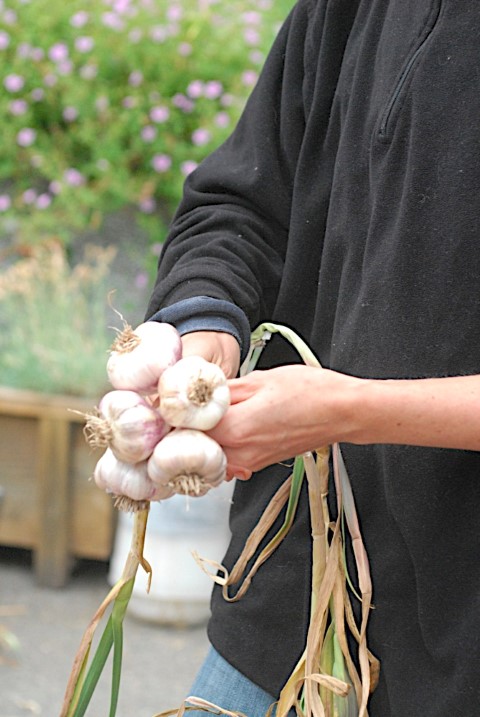
Carolyn recommends harvesting and drying garlic as follows:
At harvest in mid-July the bulbs are bundled together in bunches of no more than eight and are hung along the rafter in the garage where a warm breeze blows through. Here the bulbs are left to cure for at least six weeks to ensure they are thoroughly dry for storage and replanting.
How to Dry Garlic
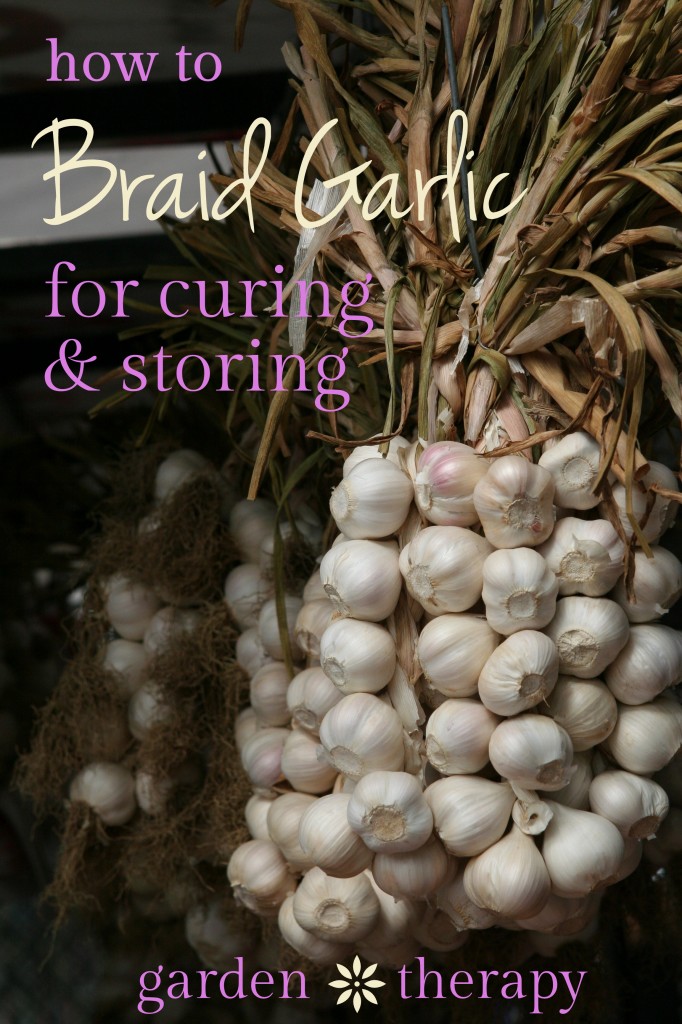
How to Braid Garlic
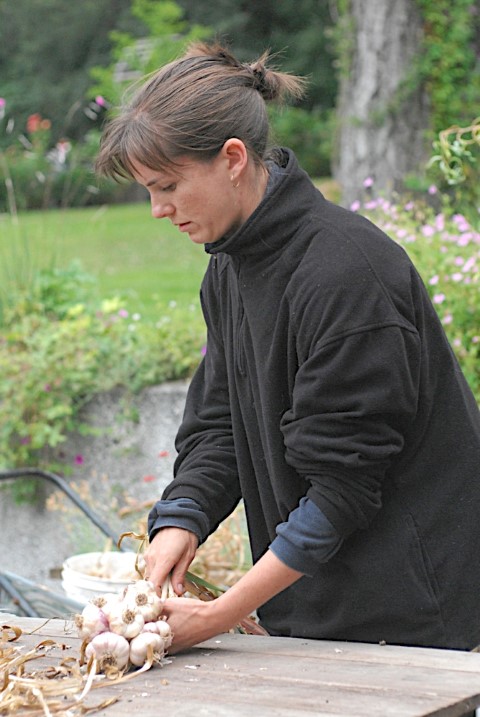
1. Lay three clean dried stalks with good-sized garlic bulbs on a table, with the foliage facing towards you. Place one bulb down and then place two more bulbs side by side just above it. Place the stalks of bulbs two and three underneath the stalk of bulb one, and cross them over it. Tie the stalks together using string tied with a tight knot. If stalks are pliable enough you can tie the bulbs together without using string.
Braiding Garlic Step 1
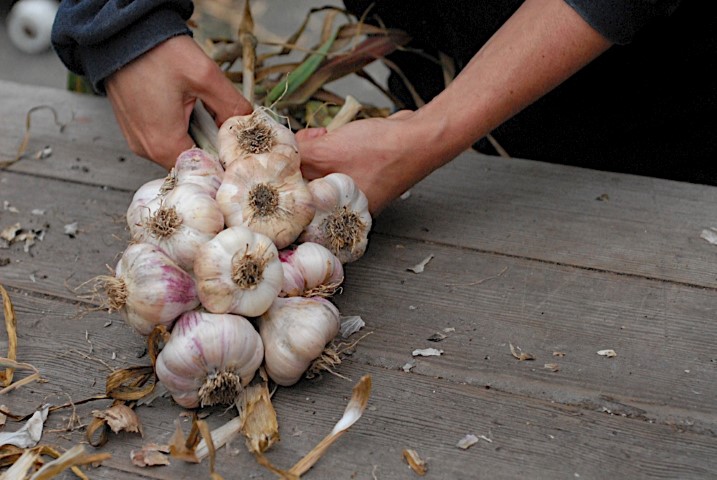
2. Place the fourth bulb between bulb two and three, aligning the stalk with the centre stalk. You are now holding three groups of stalks—one on the left, one on the right, and two in the middle. Fold the left stalk toward the middle, over the middle two stalks. Now pull the middle two stalks over to form the new left side.
How to Braid Garlic When Dry
3. Lay bulb five beside bulb four, aligning the stalk with the centre stalk again. Now fold the right-hand stalk over the two centre stalks to become the new centre. Pull the middle two stalks over to form the new left.
Step By Step Garlic Braiding
4. Repeat this sequence, alternating the side that you lay the bulbs on each time, and always aligning the stalk with the centre stalk. Note that the number of stalks you fold in the middle increases each time.
Making Garlic Braids
5. When you have braided the last garlic bulb in, carry on braiding the foliage until you are almost out of it. Tie the braid off above the last fold, leaving string to hang the braid with.
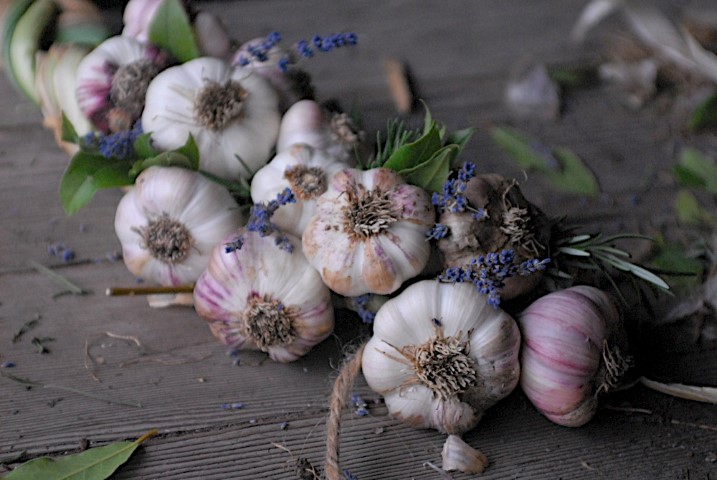
6. Make beautiful and decorative gifts by simply tucking bay, rosemary and lavender sprigs in with the garlic as you braid.
Decorative Garlic Braids with herbs for decoration
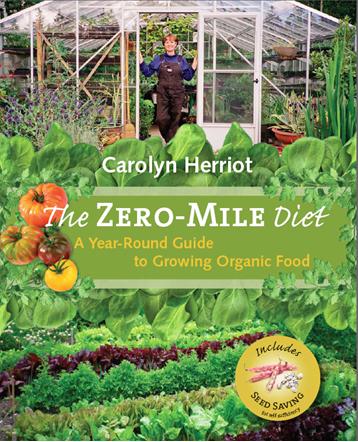
Grab this book if you want to put organic home-grown fruits and vegetables on your table throughout the year, using the time-saving, economical and sustainable methods of gardening outlined in The Zero-Mile Diet. This book is about REAL food and how eating it will change our lives for the better and a fabulous resource for the home gardener.
Save
Original article and pictures take gardentherapy.ca site


Комментариев нет:
Отправить комментарий