These adorable vegetable garden markers were made by my friend Kristin, AKA Delta Gardener. Kristin is a volunteer Master Gardener and works tirelessly with the Ladner Community Garden to coordinate the children’s garden. Between that and maintaining her large home garden and writing about it all on her blog, That Bloomin’ Garden, I do not know where she finds the time. Thankfully she does and is here today to share a DIY on making plain old rocks into super-cute painted stone garden markers!
Painted Stone Vegetable Garden Markers
Are you tired of plant tags that wear out over the season? There is nothing worse than checking on what is growing in the vegetable garden to find that either the tag is illegible or, even worse, missing. I had to figure out a new and creative way to make plant tags this year. A friend approached me about the idea of painted rocks as plant markers. I love color in the garden so I decided to make them. Now, this was my first time painting rocks so here goes.
When you are choosing rocks for this project, the smoother they are, the better. It just makes it easier to get a smooth finish using paints. You can use found rocks or buy them at your local garden center.
So, what do you need to get started? I like to work with acrylic paints and have an assortment of colors. You will also need a fine-tipped paintbrush for some of the more intricate work, such as the lettering, and an assortment of thicker brushes for the larger areas. You could also buy a paint pen but you definitely have to practice with that first. I opted out and used a paintbrush as I had more control.
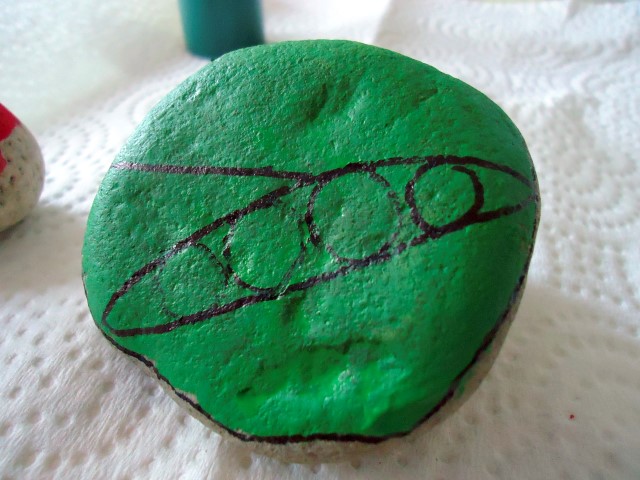
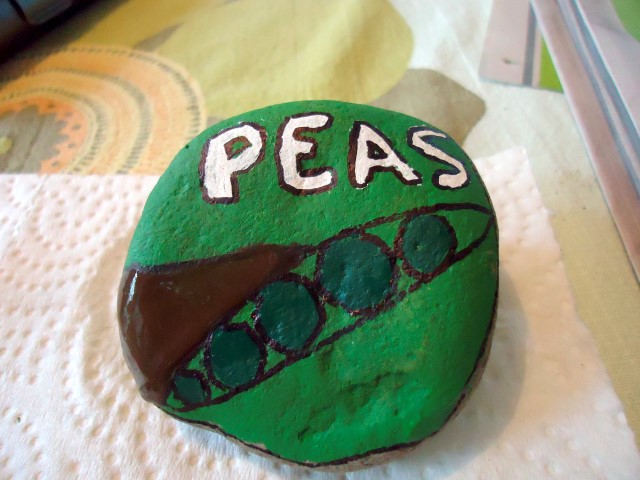
To begin my project, I decided to make a plant marker for my peas. I started by painting the rock with a base color of green all over. I let it dry and applied a second coat. The next step was to draw out a design of how I wanted the rock to look. I used pencil first and then went over it with a fine-tip permanent marker.
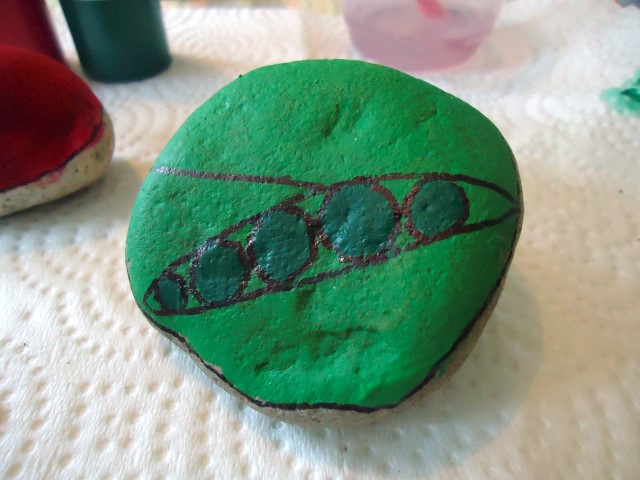
I painted the peas using a darker green.
I added some brown color to one side of the rock and painted the white lettering of the word “peas” next. Now, painting lettering is definitely a talent learned by practicing. This was my first go at it and it wasn’t easy.
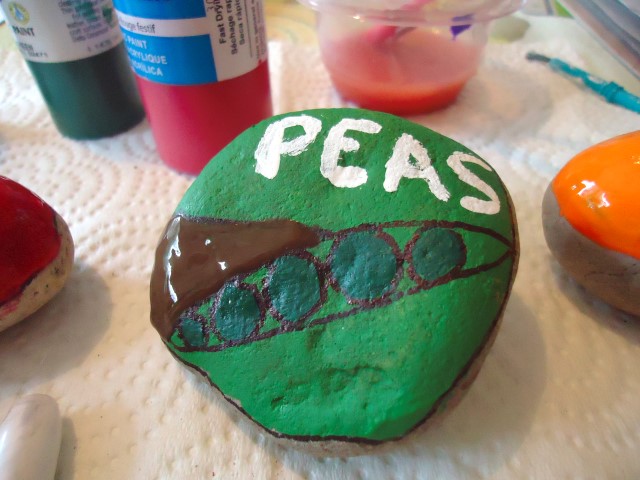
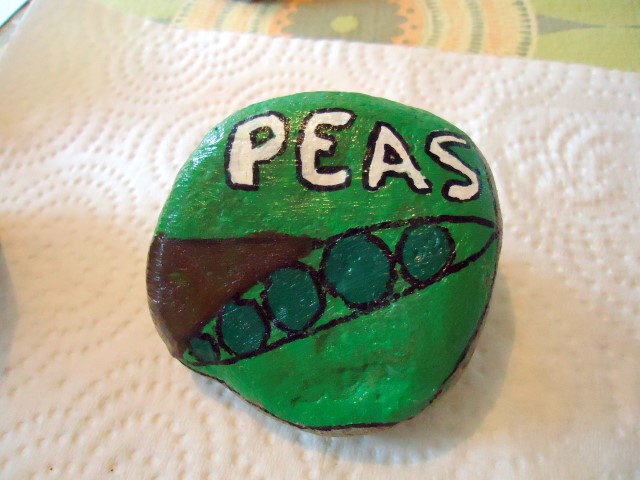
The good thing is that I used a permanent marker to outline the letters and if you have any imperfections the marker will cover them up.
I gave each area two coats of paint and then clear coated it with DuraClear gloss varnish. I purchase all my paints and varnish at the dollar store so the cost is very inexpensive to make these cute plant markers.
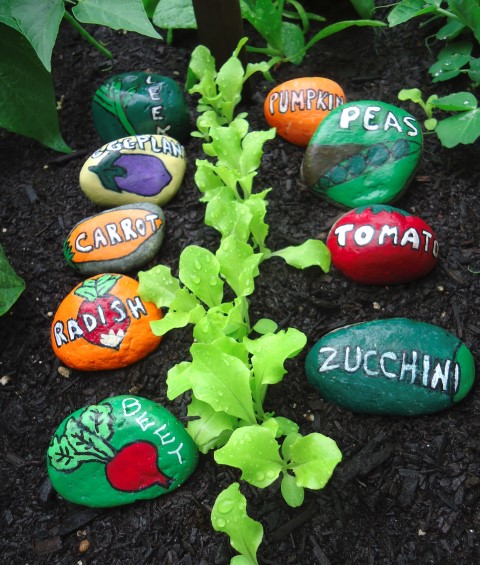
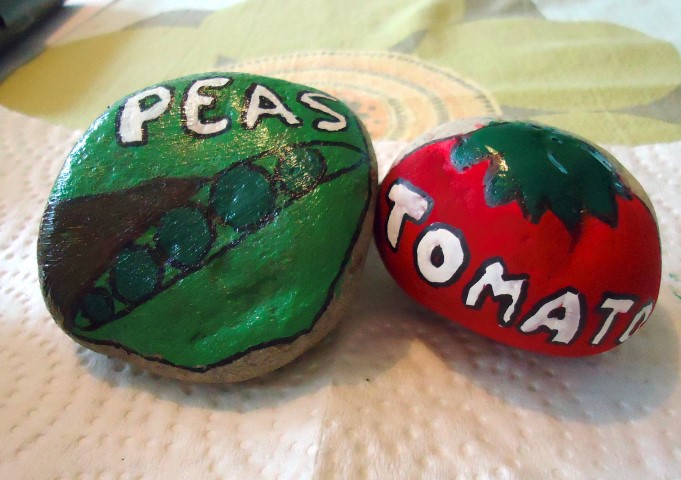
As you can see, one painted vegetable rock led to another until I completed a collection of the most standard vegetables grown. So if you see me eyeing up rocks as I go for a walk, now you know why. This is a fun project to do with your children on a rainy day.
The hardest part is waiting for the paint to dry. It usually takes a couple of days to complete a marker but you can certainly do a few at a time. That way you always have one to work on.
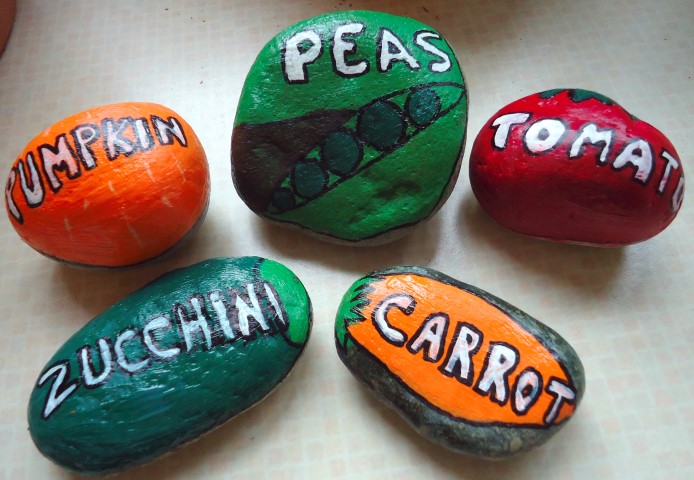
I love how the plant markers turned out, don’t you?
Save
Original article and pictures take gardentherapy.ca site
Комментариев нет:
Отправить комментарий