What to do with all of those vases that seem to multiple under the sink? You can't get rid of them, no one wants them. So why not make something using them?
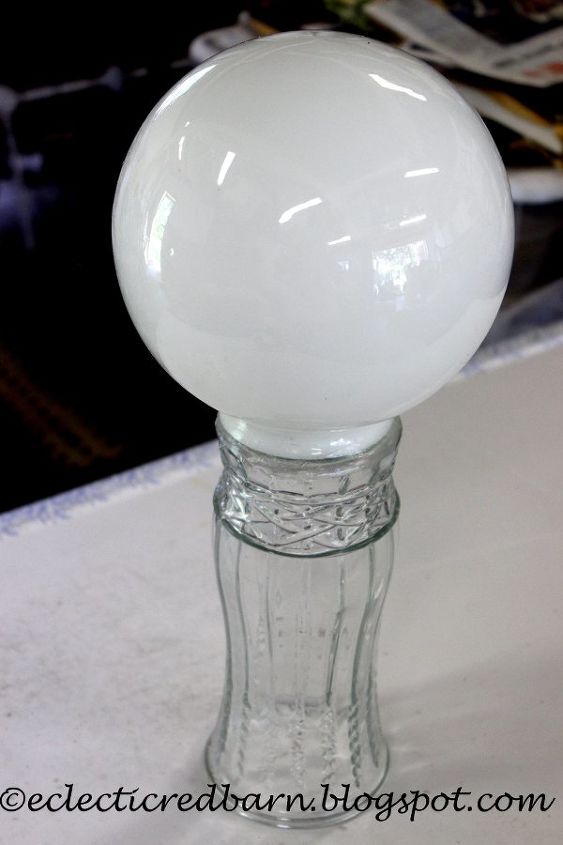
Step 1: Glue vase to a globe. Use a weather proof glue since it will be outside. If you don't have any vases, you can usually find them for around 25 cents at yard sales. Globes are a little harder to find, but you can get them for around $1. You might even find something else that would work as a top if you can't find a globe.
Step 2: I tried many products to use on my piece. When I made my globe shades, I had problems with the stones sliding down with the glue I used. This glue need to be clear so light would shine through. You can see this project here. ( http://eclecticredbarn.blogspot.com/2015/06/globe-light-as-solar-light-cover.html)
The product I decided to use was Thin set Mortar. You can mix the amount you need and it holds your stones or glass almost immediately. Also, if you have some thinner pieces, you can make them all the same height by adding more thin set.
Step 3: In the picture, I am adding pieces to the Thin set and it holds so I can keep adding. In the picture above, I added a small broken dish to the vase. Grooves on the vase don't affect the outcome.
Step 4: Here is another vase that I am working on. This one is green, but you won't see the color.
I did not complete each one at one setting, because of other commitments, but you could have.
Step 5: Once all of the pieces have been adhered, let it dry.
Once it is dry, you will need to grout the entire piece. You can purchase grout at any craft stores. They carry small packages. If you will be doing many projects, then you may want to purchase grout from Home Depot or Lowe's in larger boxes.
For some reason, I don't have pictures of them grouted. Here is a bowling ball I grouted however. The process is the same.
Step 6: Mix the grout according to the package directions. Smear it all over the piece. Make sure that you get into all of the crevasses. Don't worry about it getting on the stones and plate pieces, because it will wipe off.
Let it dry. Using a wet sponge, begin wiping off the grout. Keep wiping until it comes clean.
Step 7: Once it is cleaned, I usually I wait a little while and then use a towel or rag to shine it up.
Step 8: For the last step, you need to seal it since it will be outside.
I used this particular grout sealer. You can find others at your craft store.
I like to pour a small amount into a small dish and then use a small brush to allpy it all over the piece. It will dry hard and shinny.
Step 9: Place it in your garden. I used an old wooden handle to hold mine. I pounded it in the ground and then placed the vase over it.
I used two patterns - one was creating circles around the piece the other is a random pattern design.
#MyDIY#gardenart#decorativeart#Outdoors
To see more: http://eclecticredbarn.blogspot.com/2017/01/decorative-garden-art-using-vase-and.html
Suggested Project Book

Original article and pictures take cdn.hometalk.com site


Комментариев нет:
Отправить комментарий