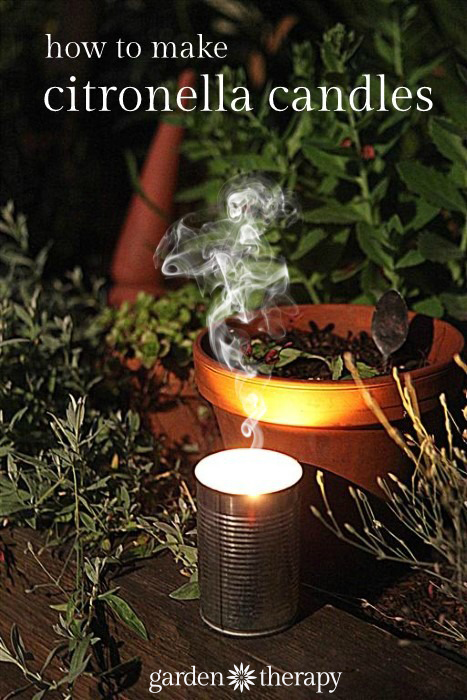
If your favorite thing in the summer is warm nights outside, then likely one of your least favorite things is getting eaten alive by mosquitoes. Making citronella candles in cans is a great recycling project that is inexpensive and effective, much like the Soy Beeswax Jar Candles I made a few months back.
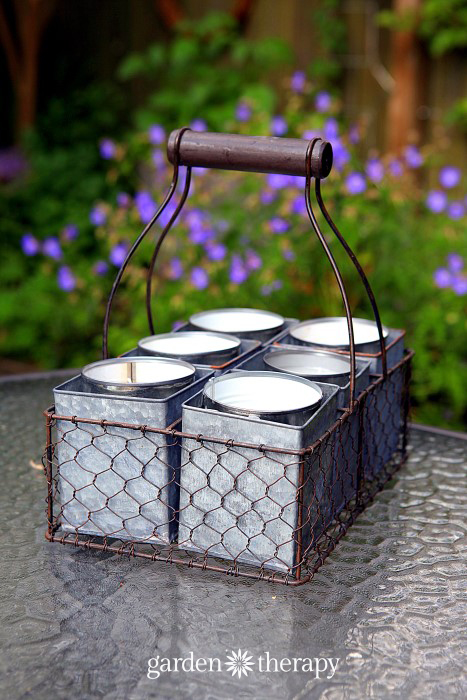
I make plenty of candles to create a bug-free barrier around the patio so I can enjoy my warm breezes and summer cocktails in peace. They aren’t bad for adding atmosphere either!
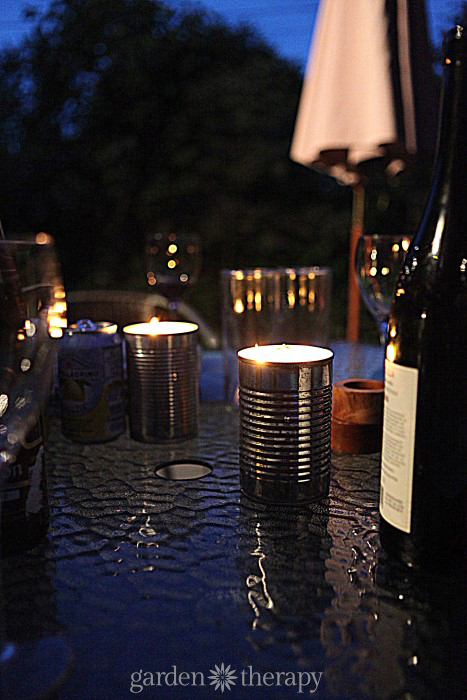
I’m not overly crazy for the smell of citronella, so I added a few additional scents to the latest batch: pine and mandarin orange. While the most effective candles will still be primarily citronella, feel free to add a few other fragrances the bugs won’t like such as eucalyptus, rosemary, peppermint, and oregano. I have an all-natural bug spray recipe with these scents too – they work really well.
Materials
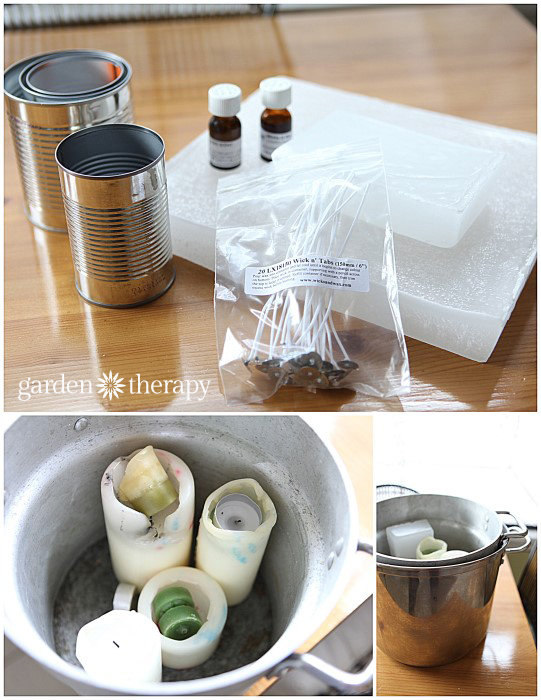
- Cans
- A double boiler (or here is a handy candle making kit)
- Wax (soy wax, paraffin wax, old candles)
- Pre-waxed wicks with tabs (150mm / 6”)
- Citronella oil for candle making (use 1 oz per lb of wax)
- Hot glue gun
Make it!
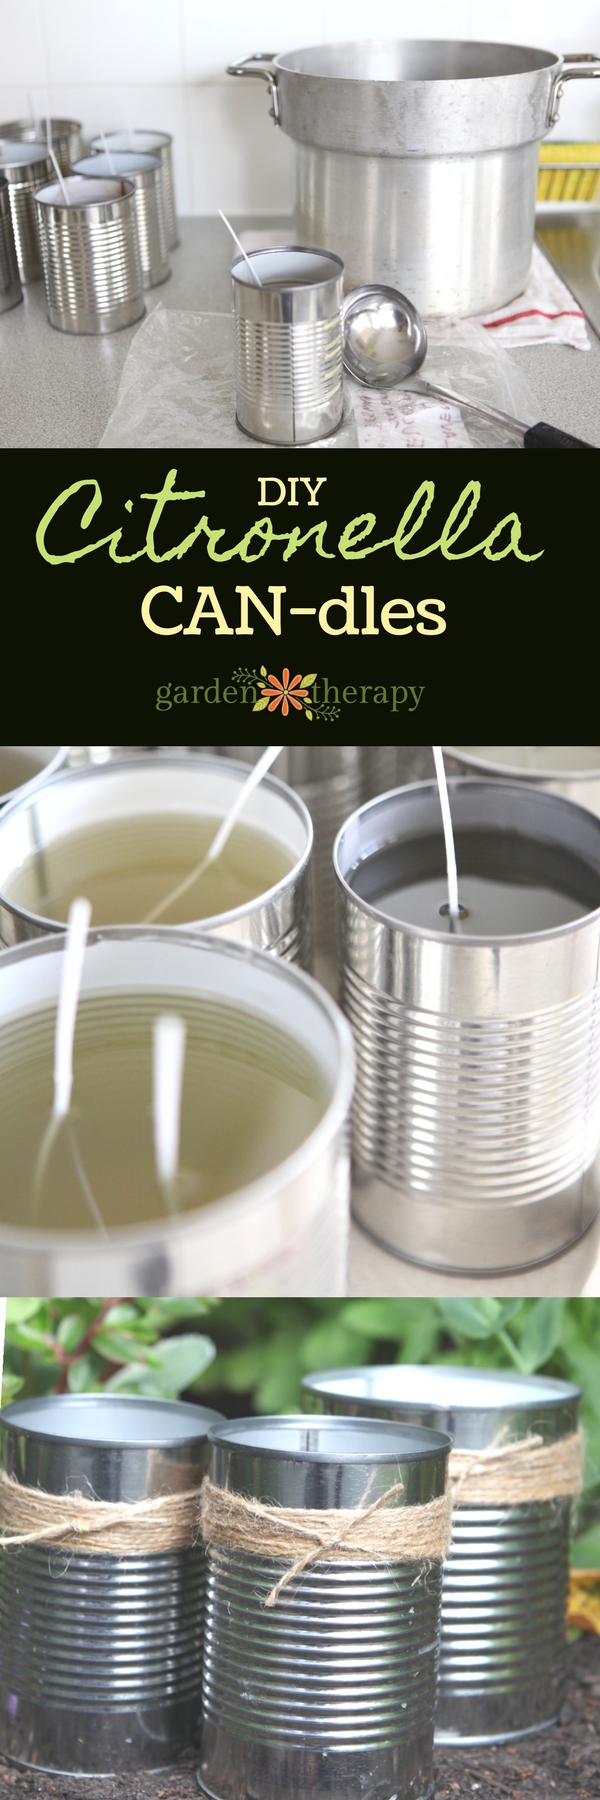
1. Using the hot glue gun, affix the wicks to the bottom of the cans and press it firmly into the center. If you are using a larger can, add two or three wicks spaced apart around the center.
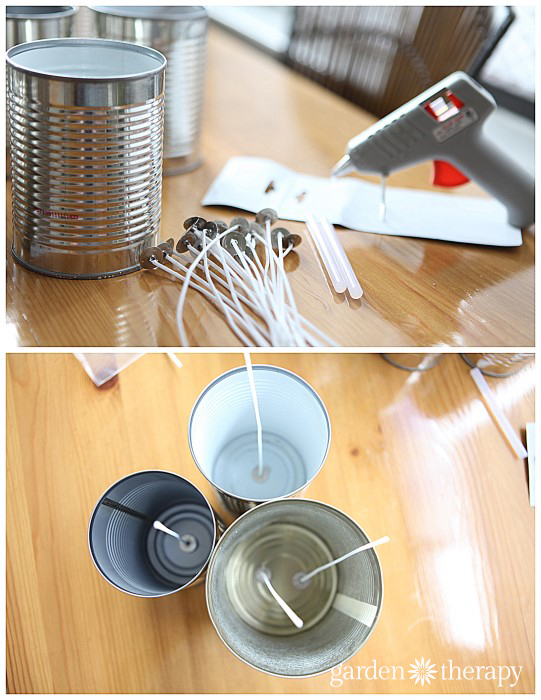
2. Assemble your double boiler and add wax or old candles in small pieces. Don’t worry so much about bits of wick or other specks in the wax as you won’t see them in the candles when they are done. Heat over medium heat until the wax is completely melted.
3. When the wax is melted it’s time to add the fragrance. Add 1 oz of citronella oil per pound of wax and augment the scent with 0.5 oz of other scents per pound.
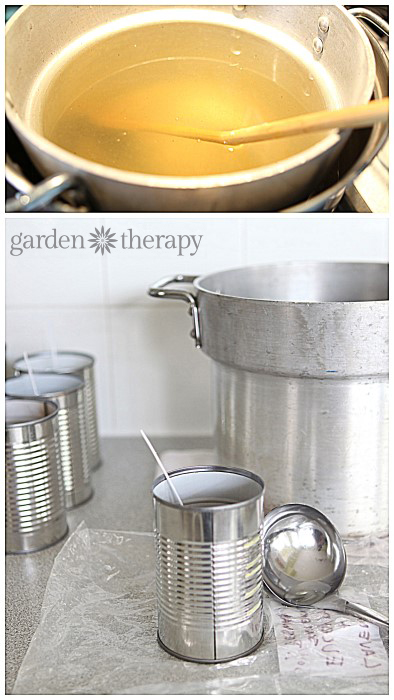
4. Let the wax cool slightly and carefully pour into containers. I can usually gently maneuver my wicks to stay in the center as the wax cools, but if you are having trouble, secure the wicks with a chopstick or clothespin to keep them in line. Be careful not to disturb them too much and set them in a warm place to cool. Cooling slowly and completely will create the best looking candles.
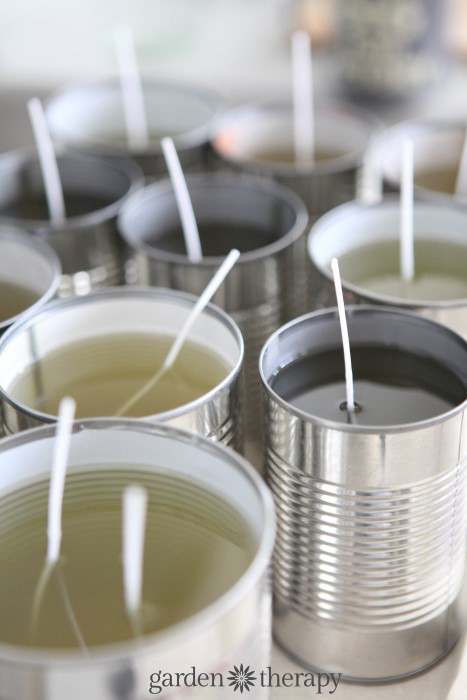
5. If you get a depressed area around the wick when cooled, warm up some more wax and pour it into the void.
6. Allow your candle to cure for 48 hours undisturbed before burning. Then, when you fire it up, let the candle burn so that there is a full, wide pool of wax before you blow it out. It is said that candles have a memory, so it’s best to let the first burn set the tone for all the rest.
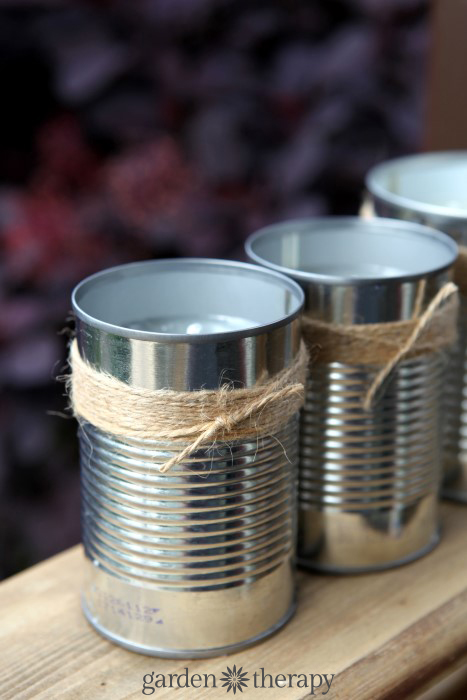
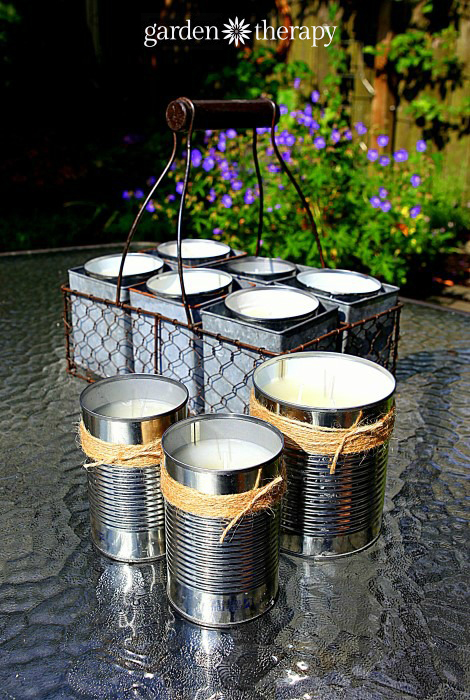
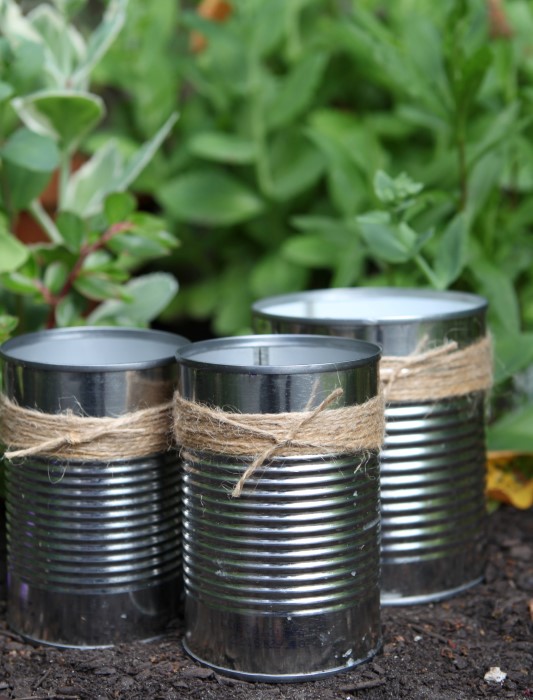
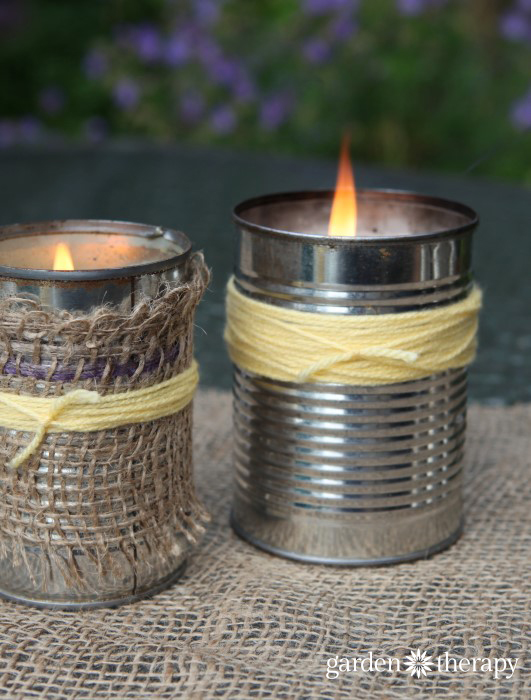
7. Decorate your candles by wrapping them in burlap, twine and/or yarn. Store them near the garden, deck, or patio so you can quickly light up when the pests start buzzing around.
Need relief from annoying bugs on the go? Try this all-natural insect bite roll-on remedy.
Pin it!
Original article and pictures take gardentherapy.ca site
Комментариев нет:
Отправить комментарий