Imagine that great vintage suitcase you’ve been meaning to do something with spilling over with blooms all summer long. This upcycled suitcase planter is a nifty raised bed, a way to give new life to old objects you might have lying around, and a unique piece of garden art all rolled into one. With a few materials and a little know-how, you can make this creative raised bed in an afternoon.
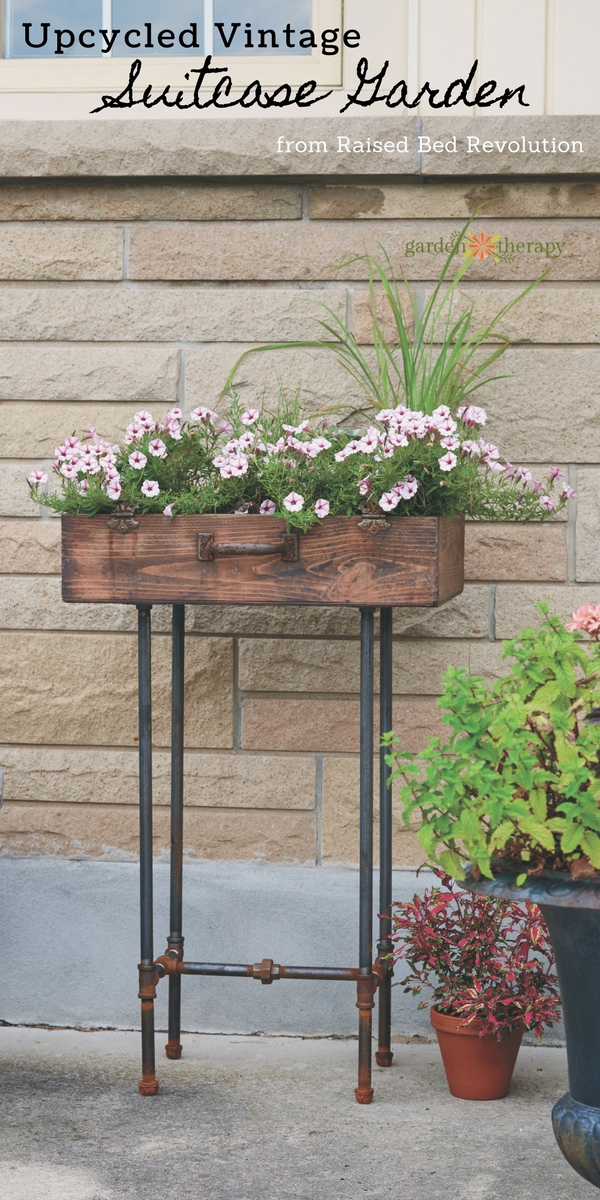
Isn’t it lovely? This project is from Tara Nolan’s wonderful book Raised Bed Revolution. It contains everything you need to know about how to install a garden pretty much anywhere by creating your own raised beds using various inexpensive or upcycled materials. The book also fills you in on how to get the most space out of your raised bed, gardening on a budget, rooftop and vertical gardens, and practical tips on growing medium, planting, and watering.
Tara is here today to give us step-by-step instructions on how to turn a suitcase and some gas pipe into a revolutionary raised bed. And be sure to check out the end of this post to see how you can enter to win your very own copy of Raised Bed Revolution!
How to Make an Upcycled Suitcase Planter with Gas Pipe Legs
By Tara Nolan
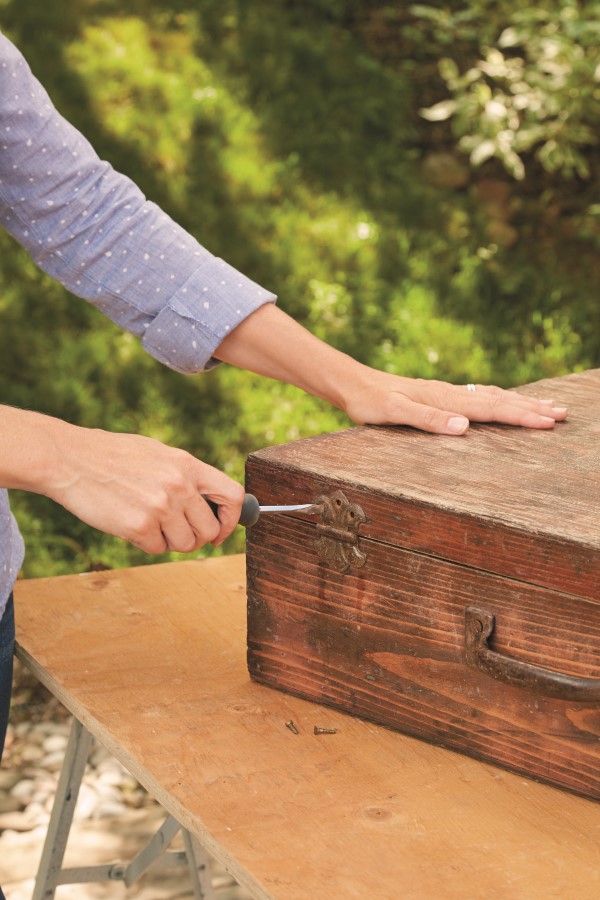
Step 1: Prep the Box
Prepare the box that will rest on top of the gas pipe legs. Here, the top of the suitcase was removed simply by unscrewing part of the hinge. The hinges were left on the actual box as decoration.
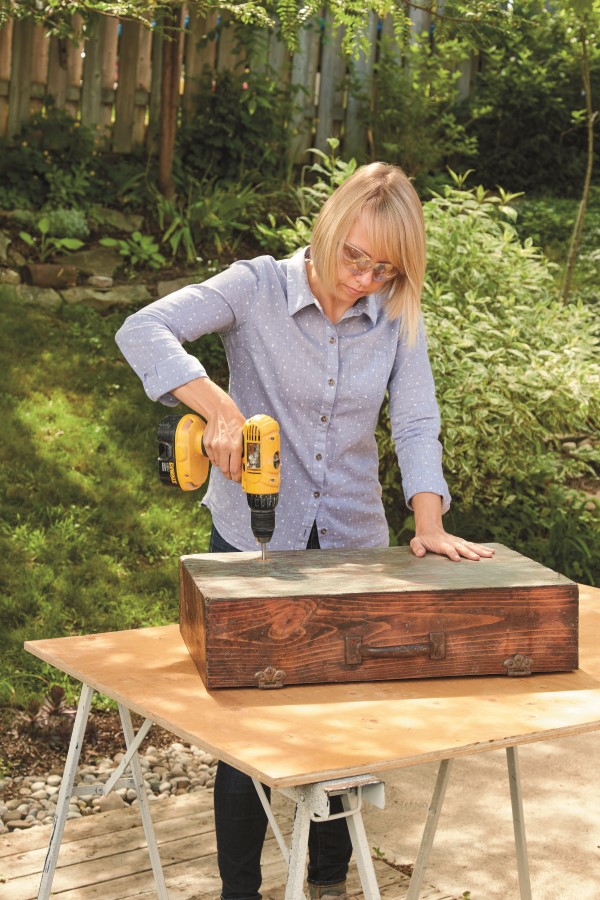
Step 2: Drill Drainage Holes
Add holes to the bottom of your box using an electric drill. Lay it aside for now.
Step 3: Assemble All Pipe Pieces
Have a rag close at hand as you put the gas pipe parts together; they can be quite greasy.
Screw one flange into one end of each 24-inch pipe. On the other end, add a tee fitting.
To continue the leg, add one 6-inch pipe to the opposite end of the tee. To the end of that, screw on the end cap. To the perpendicular end of the tee, add a 3 1⁄2-inch threaded pipe. Repeat for the three other legs.
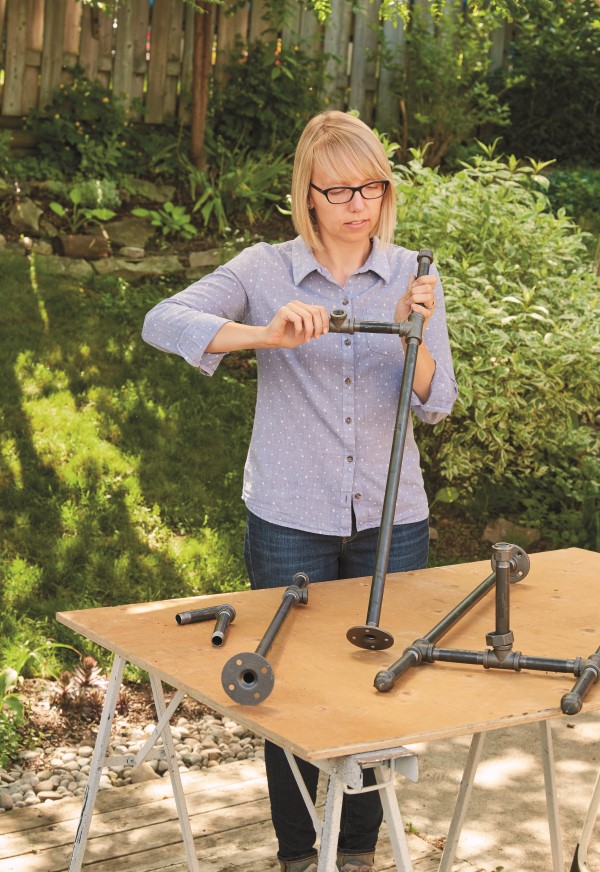
Use a tee to connect each set of end legs. Your project should now be in two pieces. Attach the two sets of end legs by screwing the 6-inch pieces of pipe to the middle tees of the two leg sets so they’ll be parallel to the ground. Attach them with one union. It will take a bit of maneuvering to twist everything so it’s just so and the feet rest on the ground evenly.
Step 4: Determine the Perfect Leg Placement on the Box
Set the whole leg construction with the flanges touching the box, and measure where they will go so you can screw them in place.
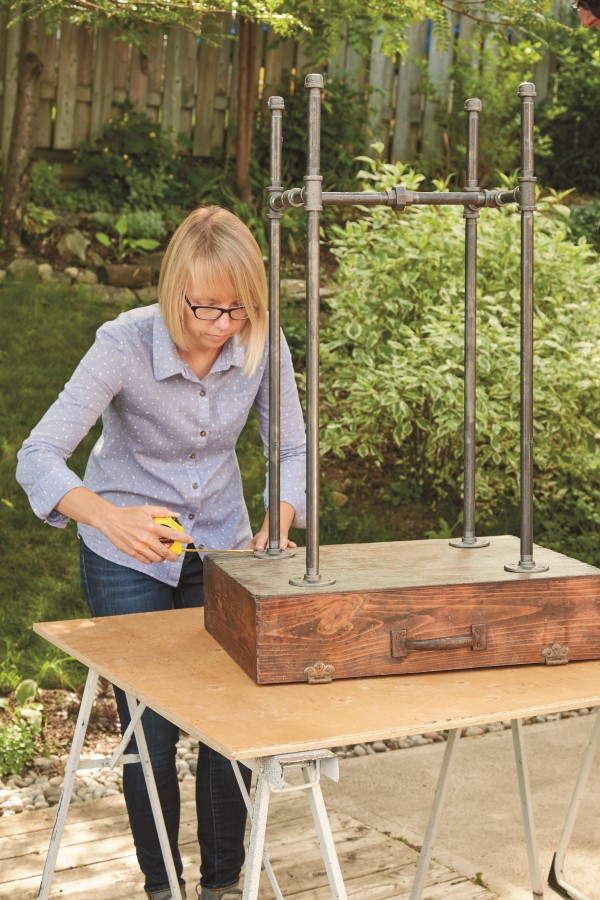
Step 5: Assemble the Top and Bottom
Attach the flanges to the box with screws. When you turn it back over, the box can be leveled by twisting various sections of pipe as needed to make it longer or shorter.
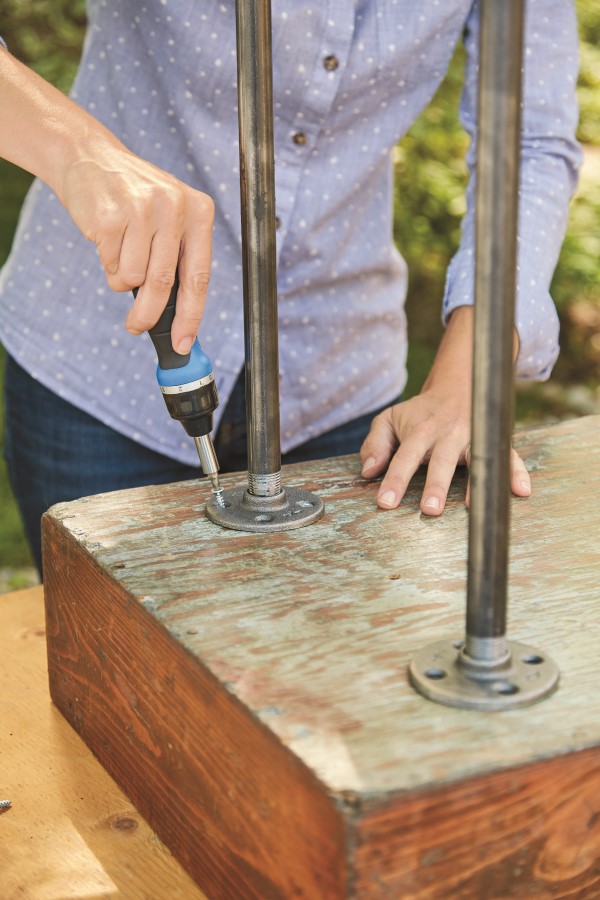
Line the box with landscape fabric; fill with soil to prepare it for planting.
Finishing the Legs
When left outdoors, the gas pipe legs will develop a natural rust-colored patina. Be careful where you place the new raised bed, however, because you don’t want the rust to leach onto the surface. To protect the gas pipe legs from rusting, apply a couple of coats of tung oil (a food-grade oil) with a brush or a rag, wiping it off between coats. You could also use a rustproof spray paint—either a clear coat or a vibrant color.
Plant it!
This suitcase container is planted with a mix of edibles and ornamentals. Edibles have been used for their foliage, but they also can be snipped (herbs benefit from a regular trim) and added to summer recipes. The ornamentals add that wow factor—as both a thriller and a spiller—that you would find in a typical container arrangement. The prolific flowers you see along the front are Supertunia® Pink Star Charm petunias (no deadheading* required!), and the herbs include lemongrass, chives, rosemary, and sage, with a colorful chard added to the mix.
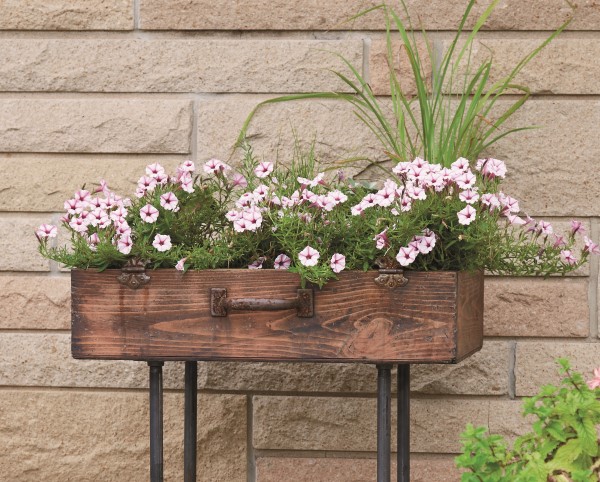
*Deadheading is the term used to describe the act of removing spent blooms from plants. This usually encourages more blooms to grow so the plant remains showy for longer. Some plants, however, like these Supertunias® and calibrachoas, another similar-looking annual, deadhead themselves, so no maintenance is generally required (unless they become leggy in the hot, dry conditions of summer; at that point you can cut them back a bit to thicken them out as they grow back in).
Reprinted with permission from Raised Bed Revolution by Tara Nolan © 2016. Published by Cool Springs Press. Photography courtesy of Cool Springs Press.
About the Author

Tara Nolan is a freelance writer, editor and author with a diverse publishing background. She is a co-founder of the popular gardening website Savvy Gardening. Her first book, Raised Bed Revolution, was published in May, 2016, the same year that she also appeared as an edibles expert on a show called Garden Wisdom for WNED Buffalo, a PBS station. For over six years, Tara was the web editor of CanadianGardening.com, where she won a Canadian Online Publishing Award for the Seed to Supper newsletter.
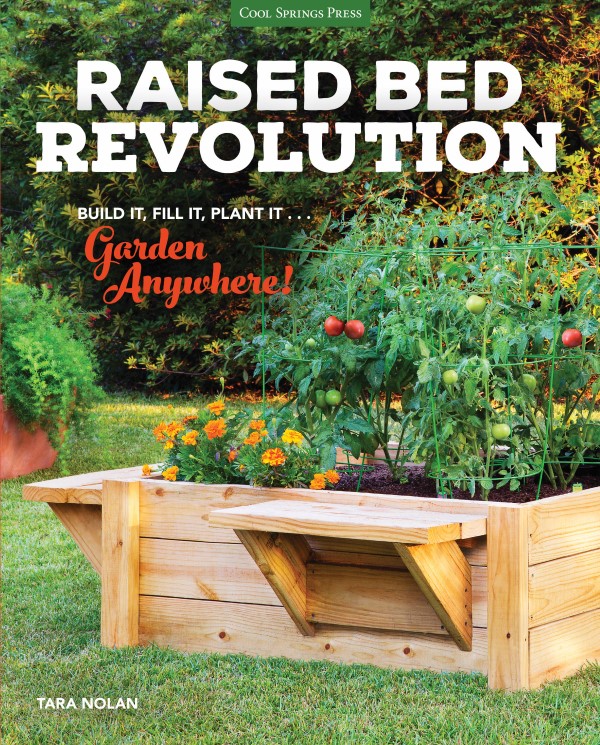
GIVEAWAY Time!
I’m happy to be giving away a copy of Raised Bed Revolution for more amazing tips from Tara. Simply leave a comment on this post about gardening in raised beds by July 16, 2017 to enter. This contest is open to residents of Canada (excluding Quebec) and the continental United States. The winner will be selected randomly from eligible entries, notified by email, and have seven days to claim their prize. Void where prohibited by law.
Original article and pictures take gardentherapy.ca site
Комментариев нет:
Отправить комментарий